How I use Supernote as my Planner
Supernote is much more than a digital notebook for me--it's also my main planner. What makes it so powerful is how I can combine structure (a yearly planner) with Supernote's ability to connect notes directly into scheduled events. With a little setup, my planner becomes a bridge between handwriting, planning, and my Apple Calendar.
Step 1 : Starting the year with the MDO Planner
At the start of every year, I use My Deep Guide's (MDG) yearly planner as my foundation. I import it into Supernote and turn it into a template. This way, I don't have to redraw layouts or copy designs--I simply duplicate the pages I need, whether it's yearly, monthly, weekly, or daily spreads.
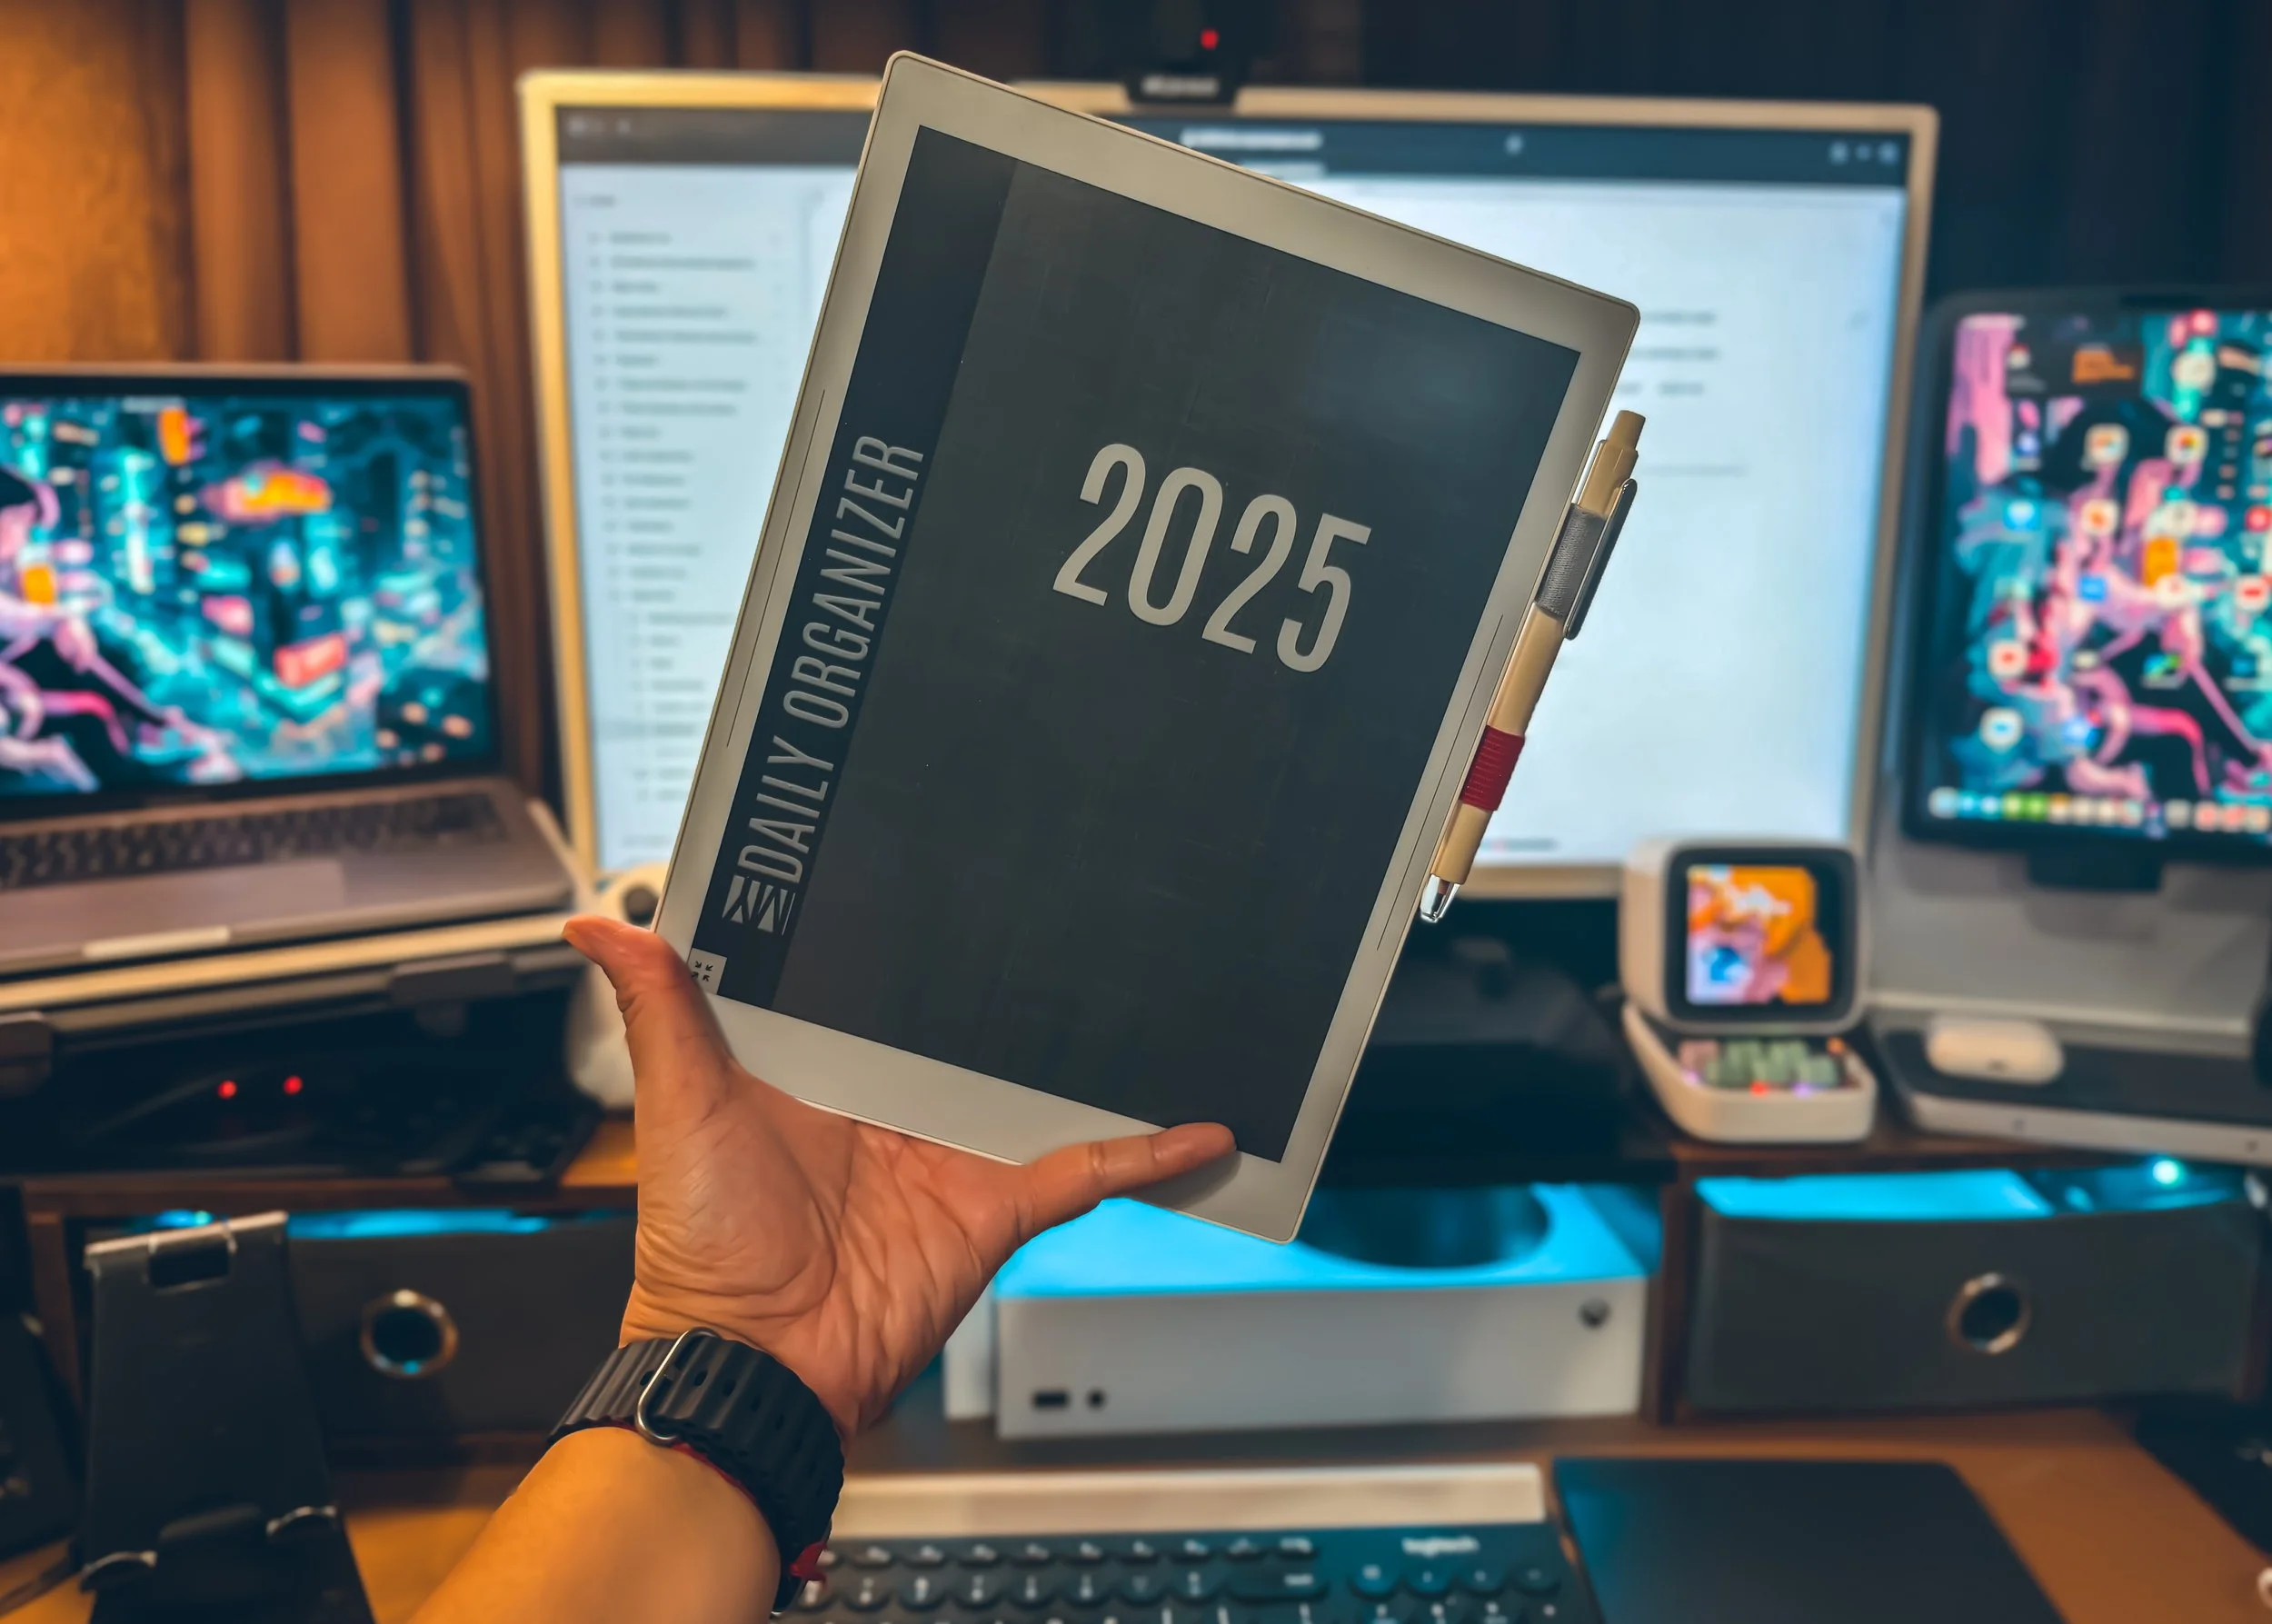
This template becomes the backbone of my planning system:
- Yearly pages for goals and milestones
- Monthly spreads for priorities and deadlines
- Weekly and daily pages for tasks, meetings, and notes
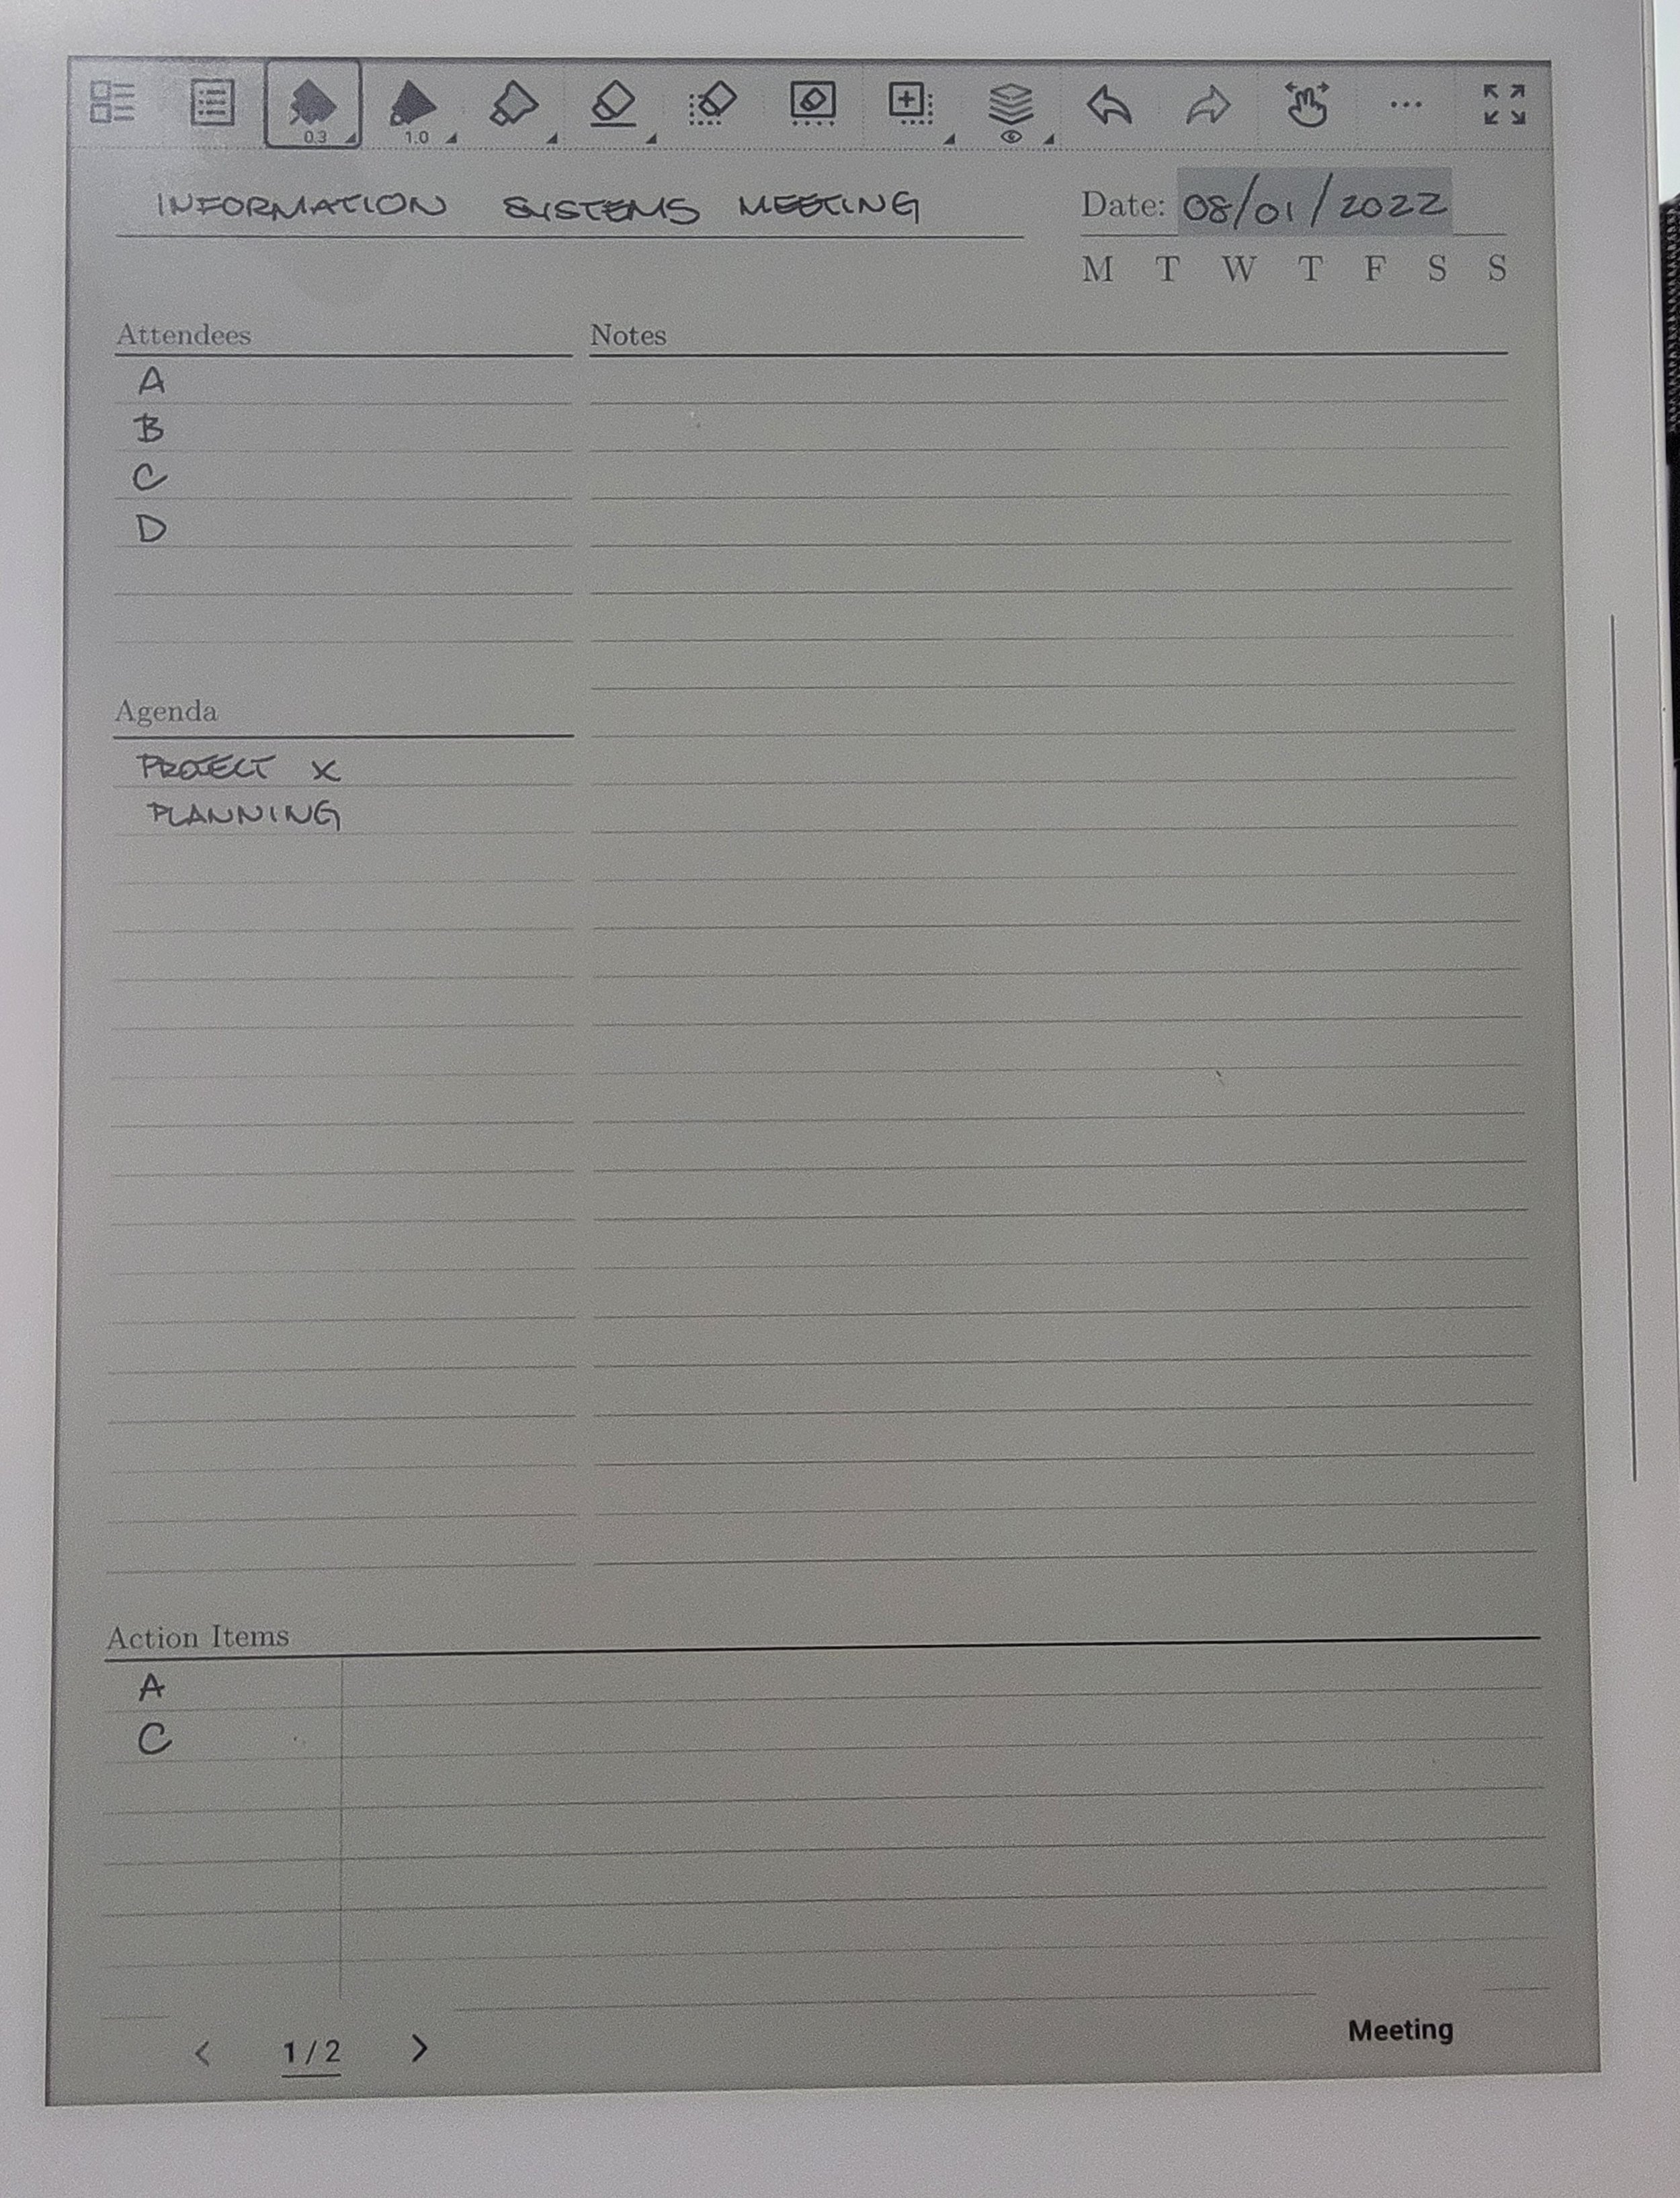
Step 2: Writing Meets Scheduling
Here's where Supernote really shines: I don't just write things down--I turn handwritten notes into events.
Supernote allows me to create an event directly from what I've written in my planner. That event then syncs over to my Apple Calendar using my workaround. This gives me the best of both worlds:
- I can keep my planner pages handwritten and flexible.
- I can also ensure nothing gets lost, because everything critical lands on my digital calendar.
Workaround:
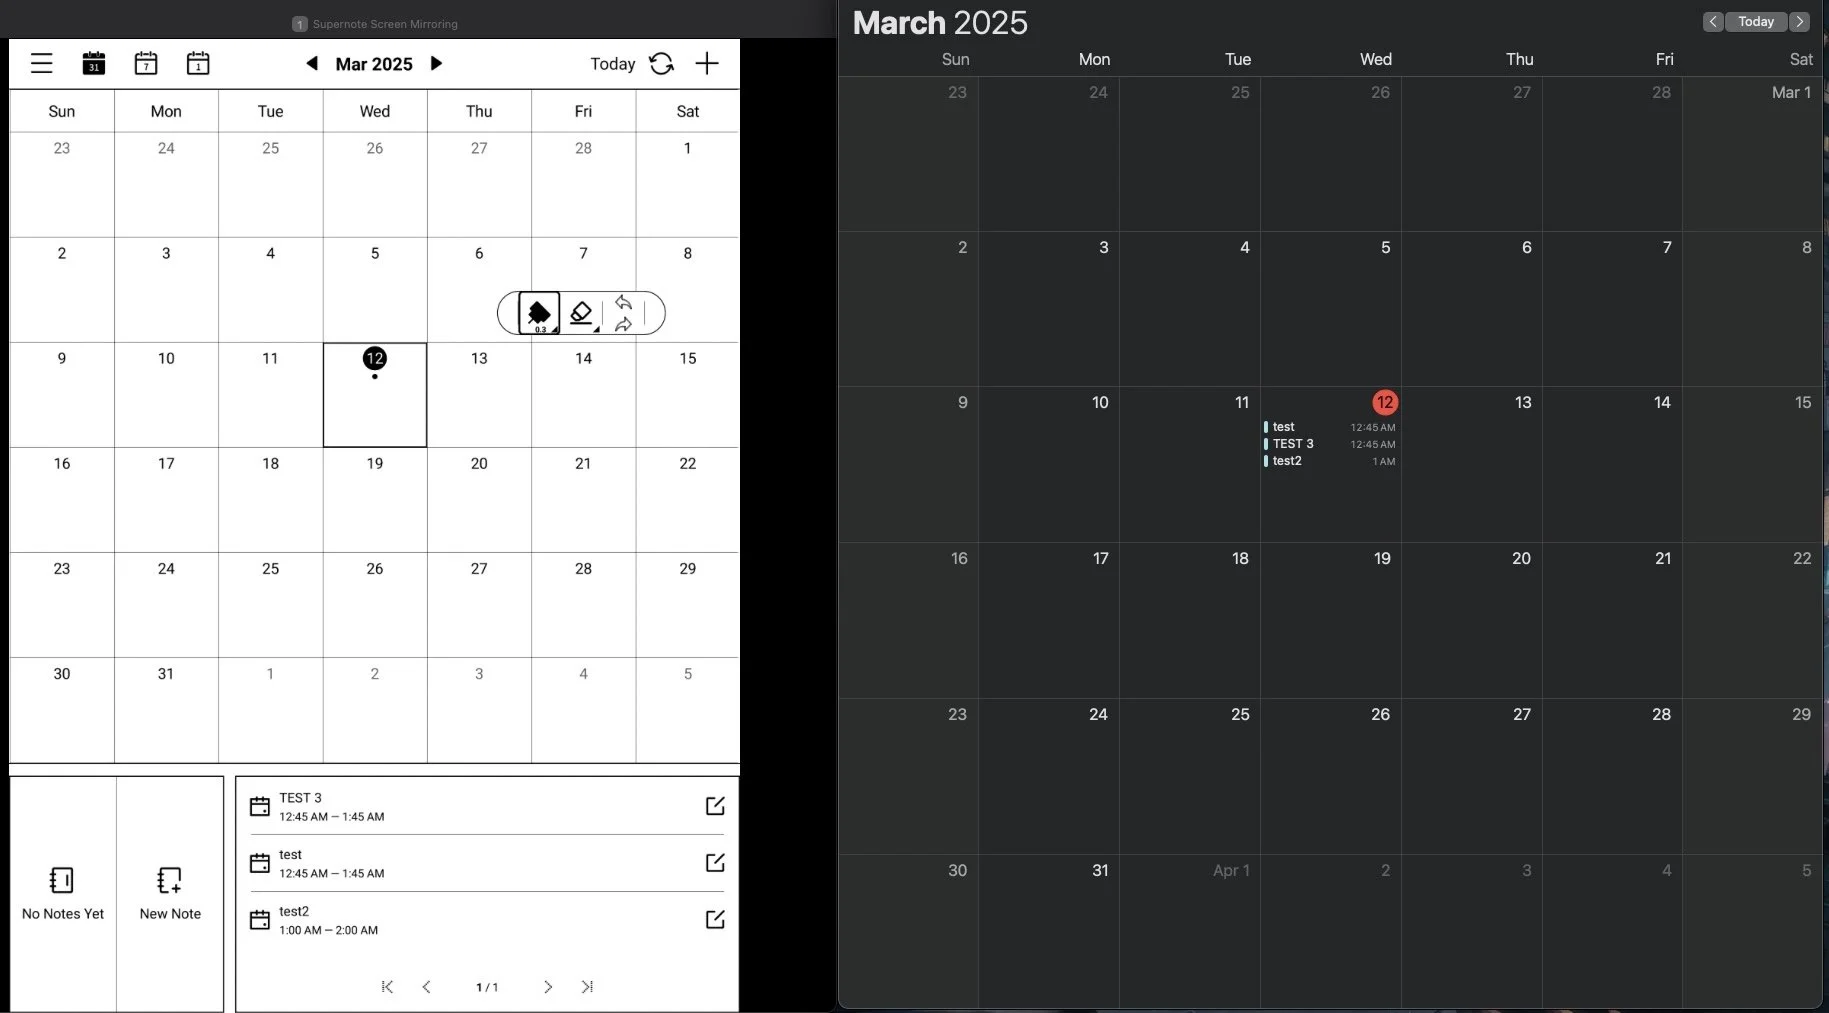
Step 3: Syncing with Apple Calendar (My Workaround)
By linking Supernote's event feature with my Apple Calendar, all of my scheduled items flow straight onto my iPhone, iPad, and Mac.
The workflow looks like this:
1. Write down the meeting or task in my Supernote planner.
2. Highlight it and convert it into an event.
3. The event syncs over to my connected calendar.
4. Apple Calendar then makes sure it's everywhere I need it--complete with reminders and alerts.
This way, my planner isn't just a static notebook--it's actively tied into the rest of my digital life.
Step 4: Monthly and Weekly Routine
- At the start of each month, I duplicate a monthly template page, fill in goals, key dates, and important events.
- At the start of each week, I build out a weekly spread and use it for scheduling and habit tracking.
- Daily pages capture my to-dos, reflections, and quick notes--and I convert anything time-sensitive into an event that syncs automatically.
Step 5: Review and Archive
At the end of the week or month, I do a quick review, mark what's done, and archive the pages. Because I built everything off the MDG template, all my pages look uniform and stay easy to reference later.
Why This Works
Using Supernote as my planner gives me:
- The pen-and-paper feel of handwriting.
- The structure of a yearly template.
- The power of digital sync with Apple Calendar.
It's a hybrid system--part analog, part digital--that keeps me organized without losing the tactile satisfaction of handwriting.
My yearly ritual of setting up the MDG planner and turning it into a Supernote template means I can start strong, stay consistent, and bridge the gap between my notes and my schedule.
Ready for more?
P.A.R.A. Method