The Supernote Feature I Failed to Use for Years
Looking back, the problem wasn’t the feature itself. The problem was that I misunderstood its role.
For the longest time, I treated Digest as a note-taking tool. Whenever I was reading, attending a meeting, or studying a document, I felt like I should be creating digests as I went. In theory that sounded efficient. In practice it meant I was constantly interrupting myself. Instead of focusing on understanding the material, I was thinking about how I was going to organize it.
Over time I realized something that probably should have been obvious from the beginning: reading and distillation are not the same activity.
When I am reading a book, I want to read the book. When I am attending a meeting, I want to listen to the meeting. When I am studying a PDF, I want to focus on understanding what is in front of me. Trying to analyze and organize information while I am still absorbing it creates too much friction.
The breakthrough happened when I stopped thinking of Digest as part of the capture phase and started thinking of it as part of the synthesis phase.
That shift completely changed the way I use the feature.
One of the other pieces that helped was finally embracing the Supernote Partner App. For years I barely touched it. Part of that was because I wasn’t using Supernote Cloud and could never quite get into the habit of opening the app regularly. As a result, Digest always felt isolated on the device itself.
Today, I actually prefer doing most of my digest work in the Partner App. The keyboard makes a huge difference. Instead of trying to type longer thoughts directly on the device, I can quickly expand ideas, connect concepts, and build out my thinking in a much more natural way.
That realization led me to three workflows that I now use regularly.
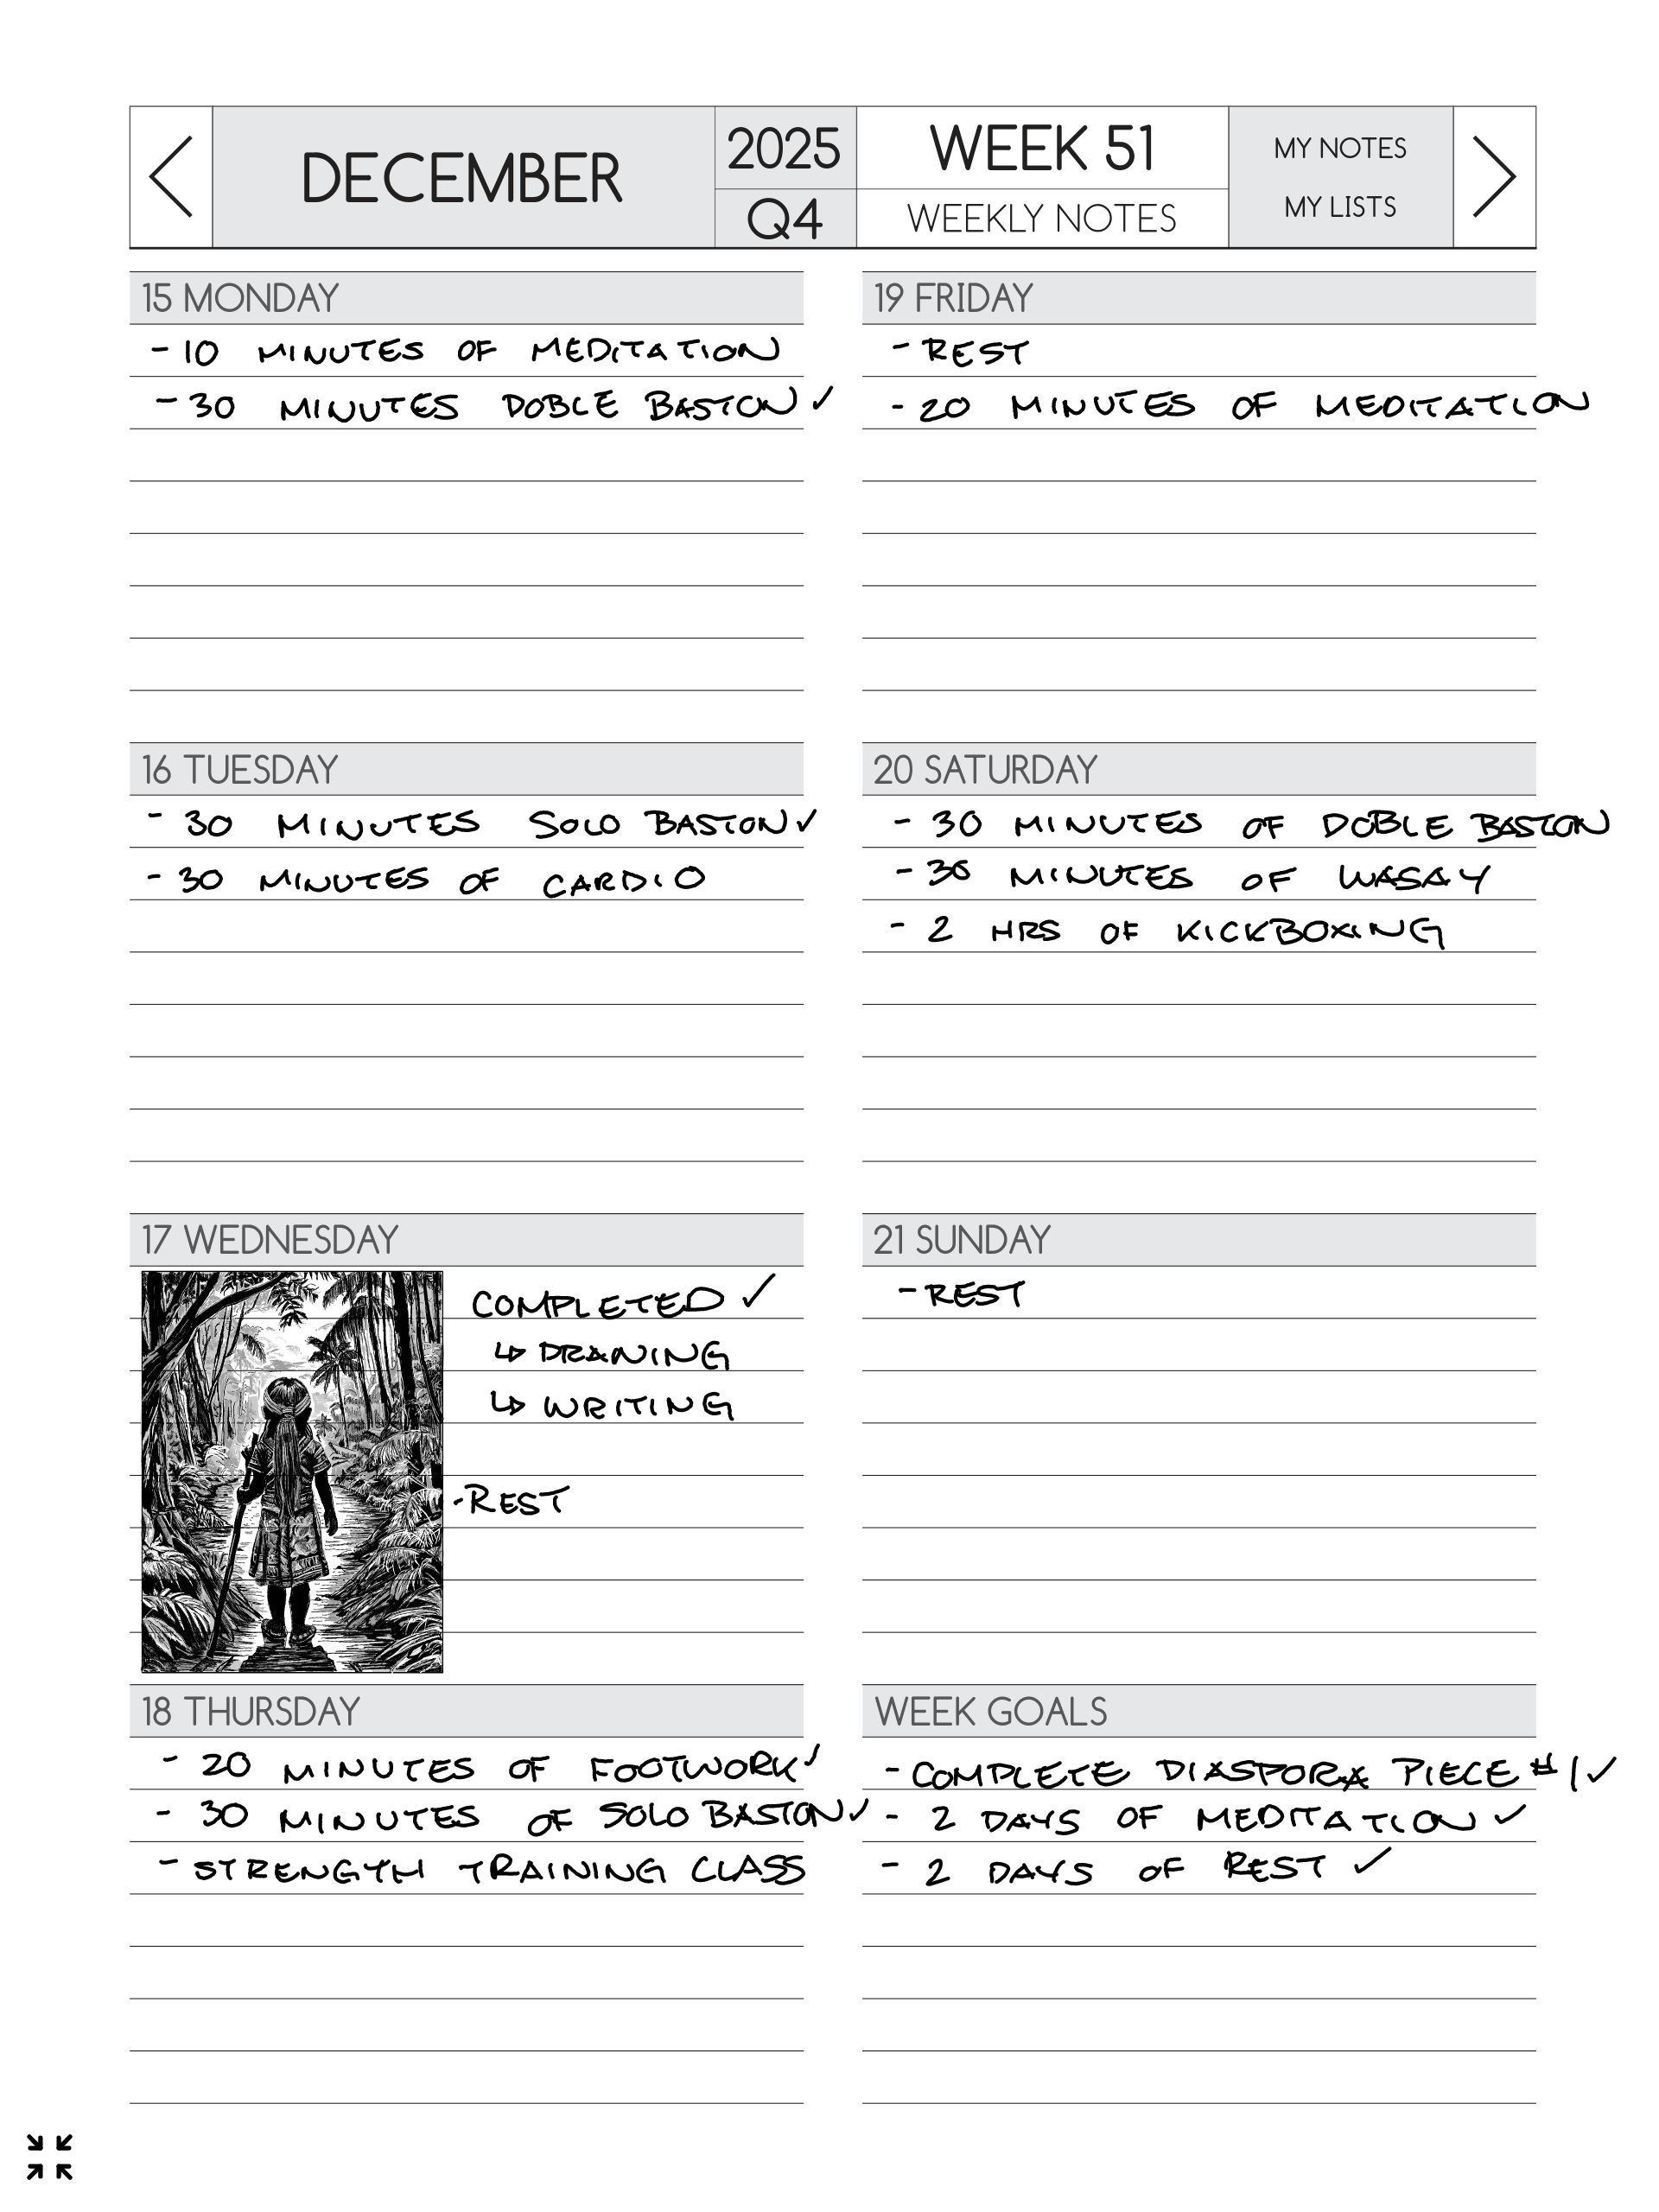
Example 1-Physical Books
The first involves physical books. Interestingly, the Supernote isn’t involved at all during the reading process. When I sit down with a physical book, my only goal is to read. I might underline a passage, use a sticky note, or mark a page that I think deserves another look later, but I am not trying to create digests while reading.
Once I finish the chapter or section, I open the Partner App and begin reviewing those marked sections. That is when I start asking questions. What stood out? What challenged my assumptions? What connects to something else I have been studying? What deserves further research? At that point, I am no longer reading the book. I am having a conversation with it.
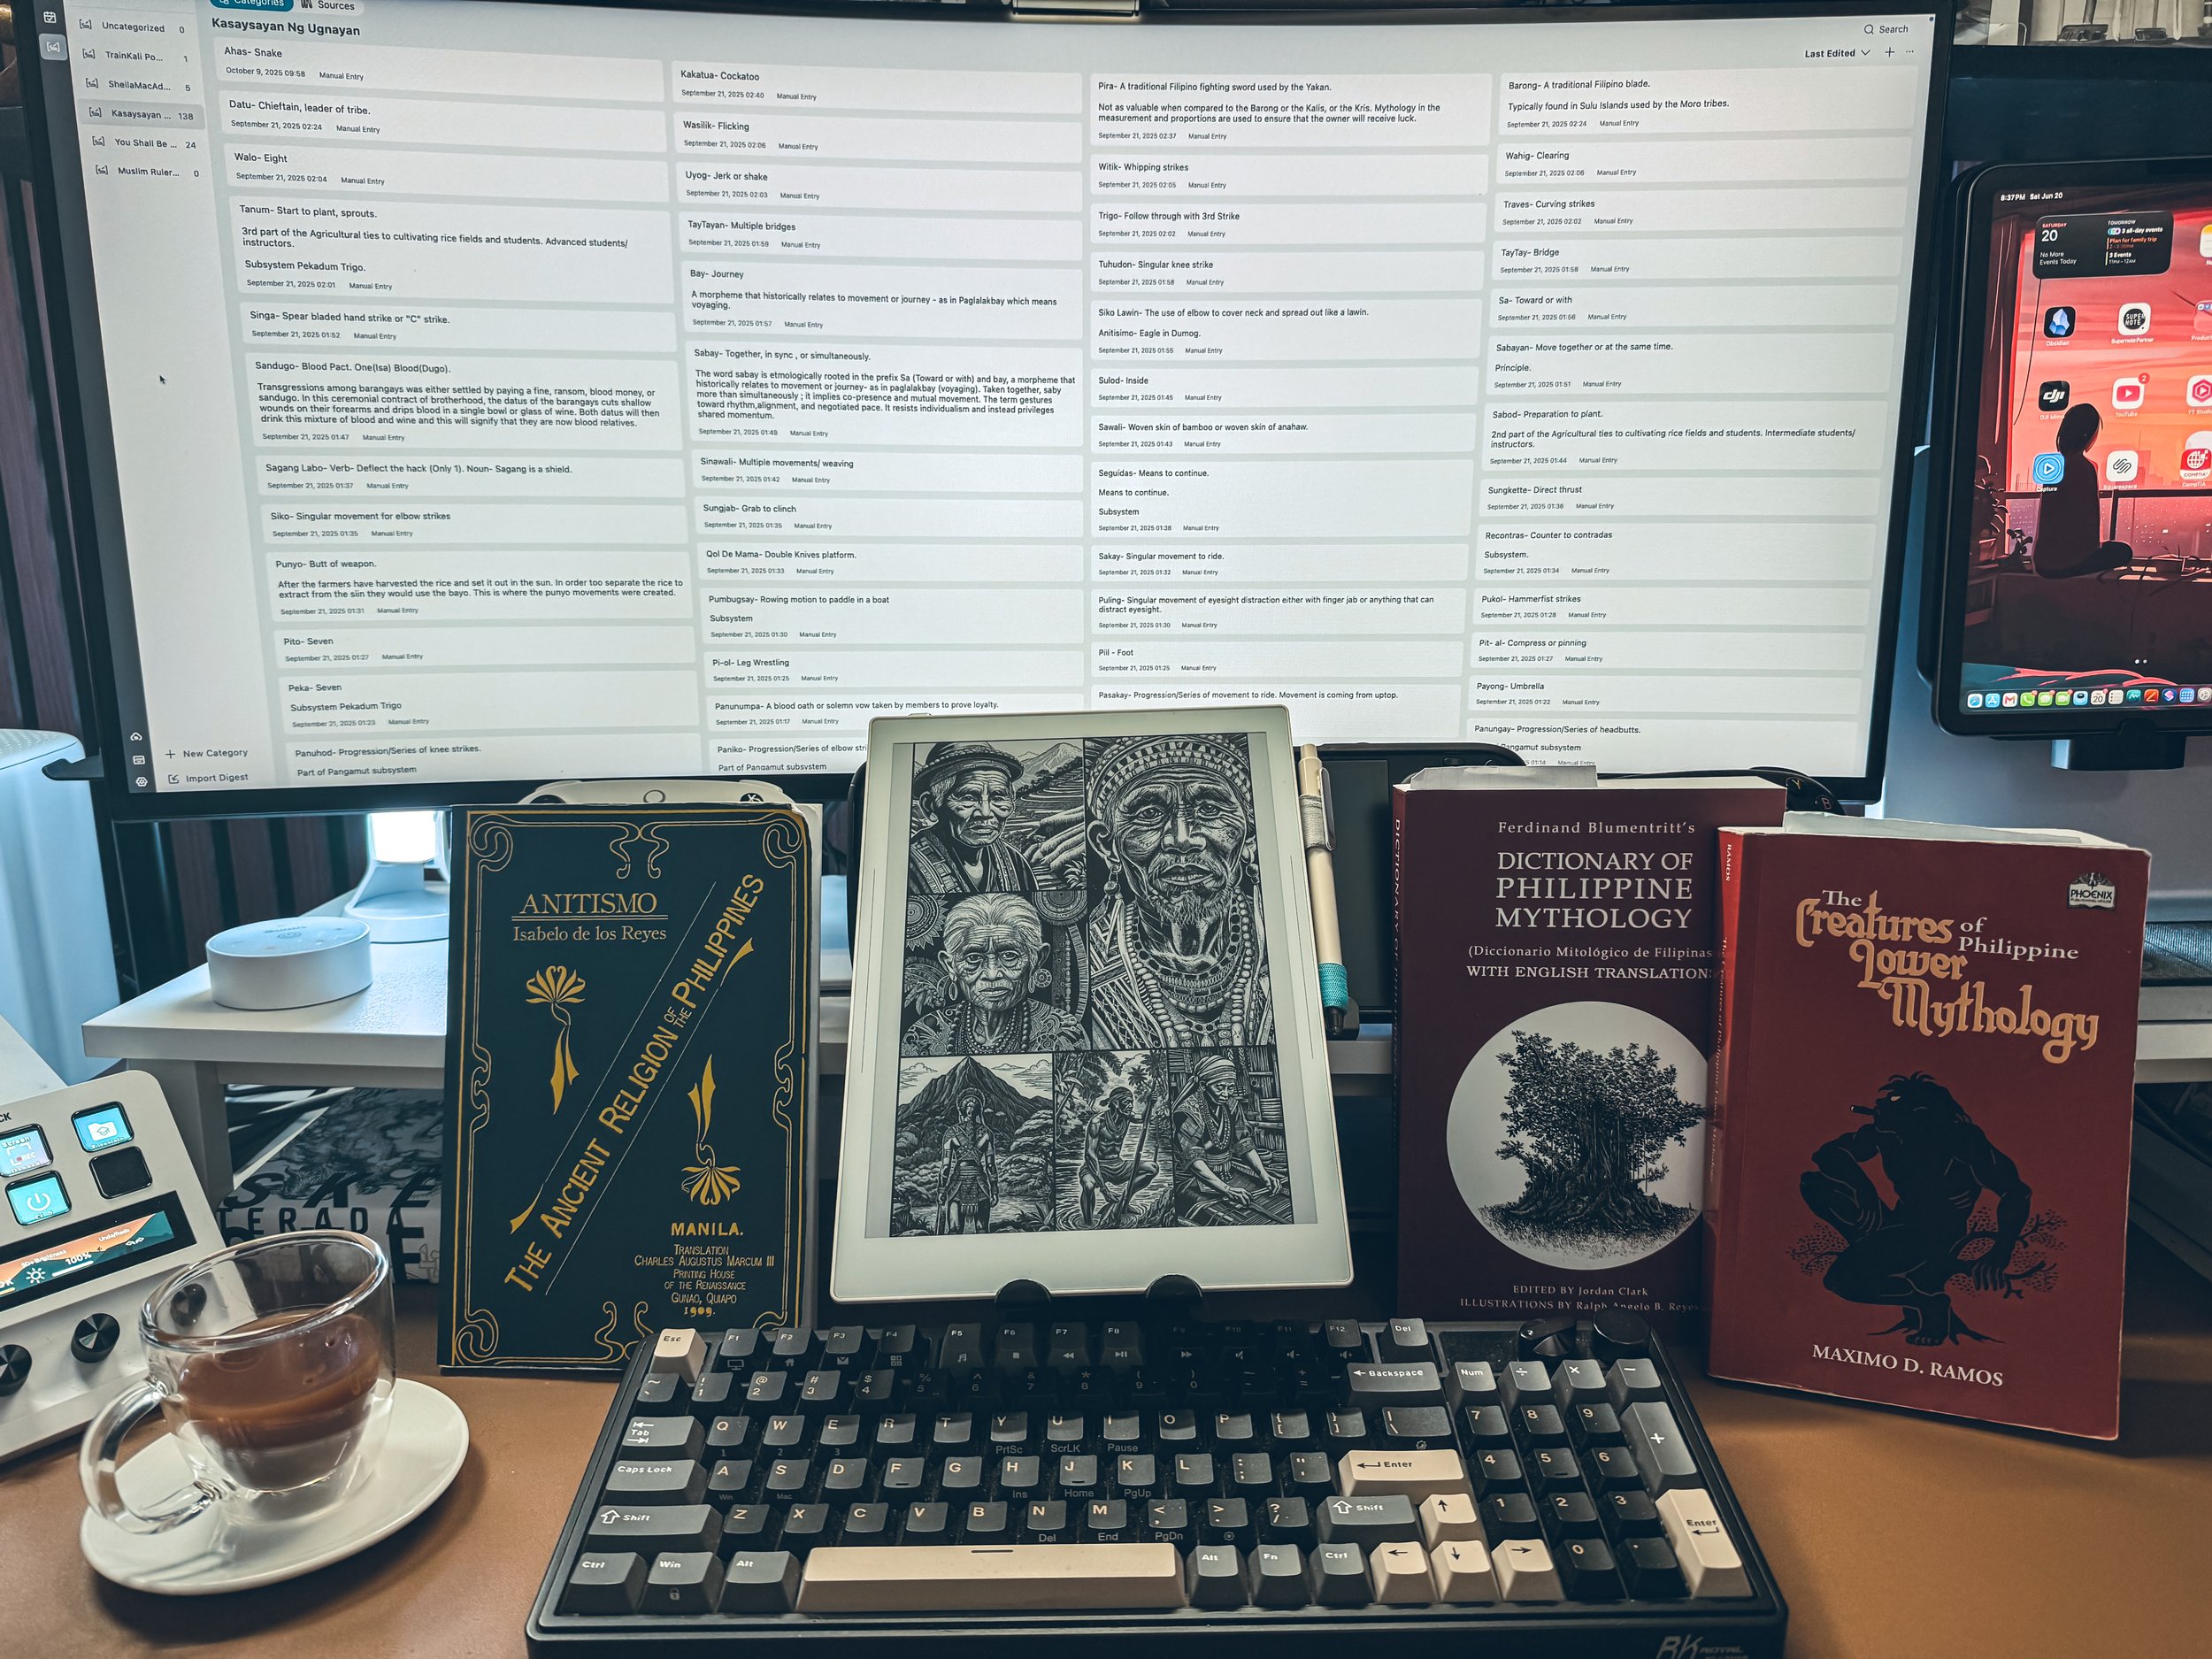
Example 2- PDF
My PDF workflow is very similar, although this is where the Supernote itself becomes part of the process. When reading PDFs, I intentionally limit my highlighting. Years ago I was guilty of highlighting entire pages, which is a great way to ensure that nothing actually stands out later.
Today I mostly highlight keywords, names, phrases, and concepts. I think of these highlights as breadcrumbs for my future self rather than summaries of the document. After I finish reading, I will often have the PDF open on my Supernote while simultaneously opening the Partner App on my MacBook. This gives me the best of both worlds. The original source material remains visible on the Supernote while I use the keyboard to expand my thoughts in the Partner App.
What I have discovered is that the most valuable digests are rarely summaries of the document. More often, they are records of the thoughts that the document triggered while I was reading it.
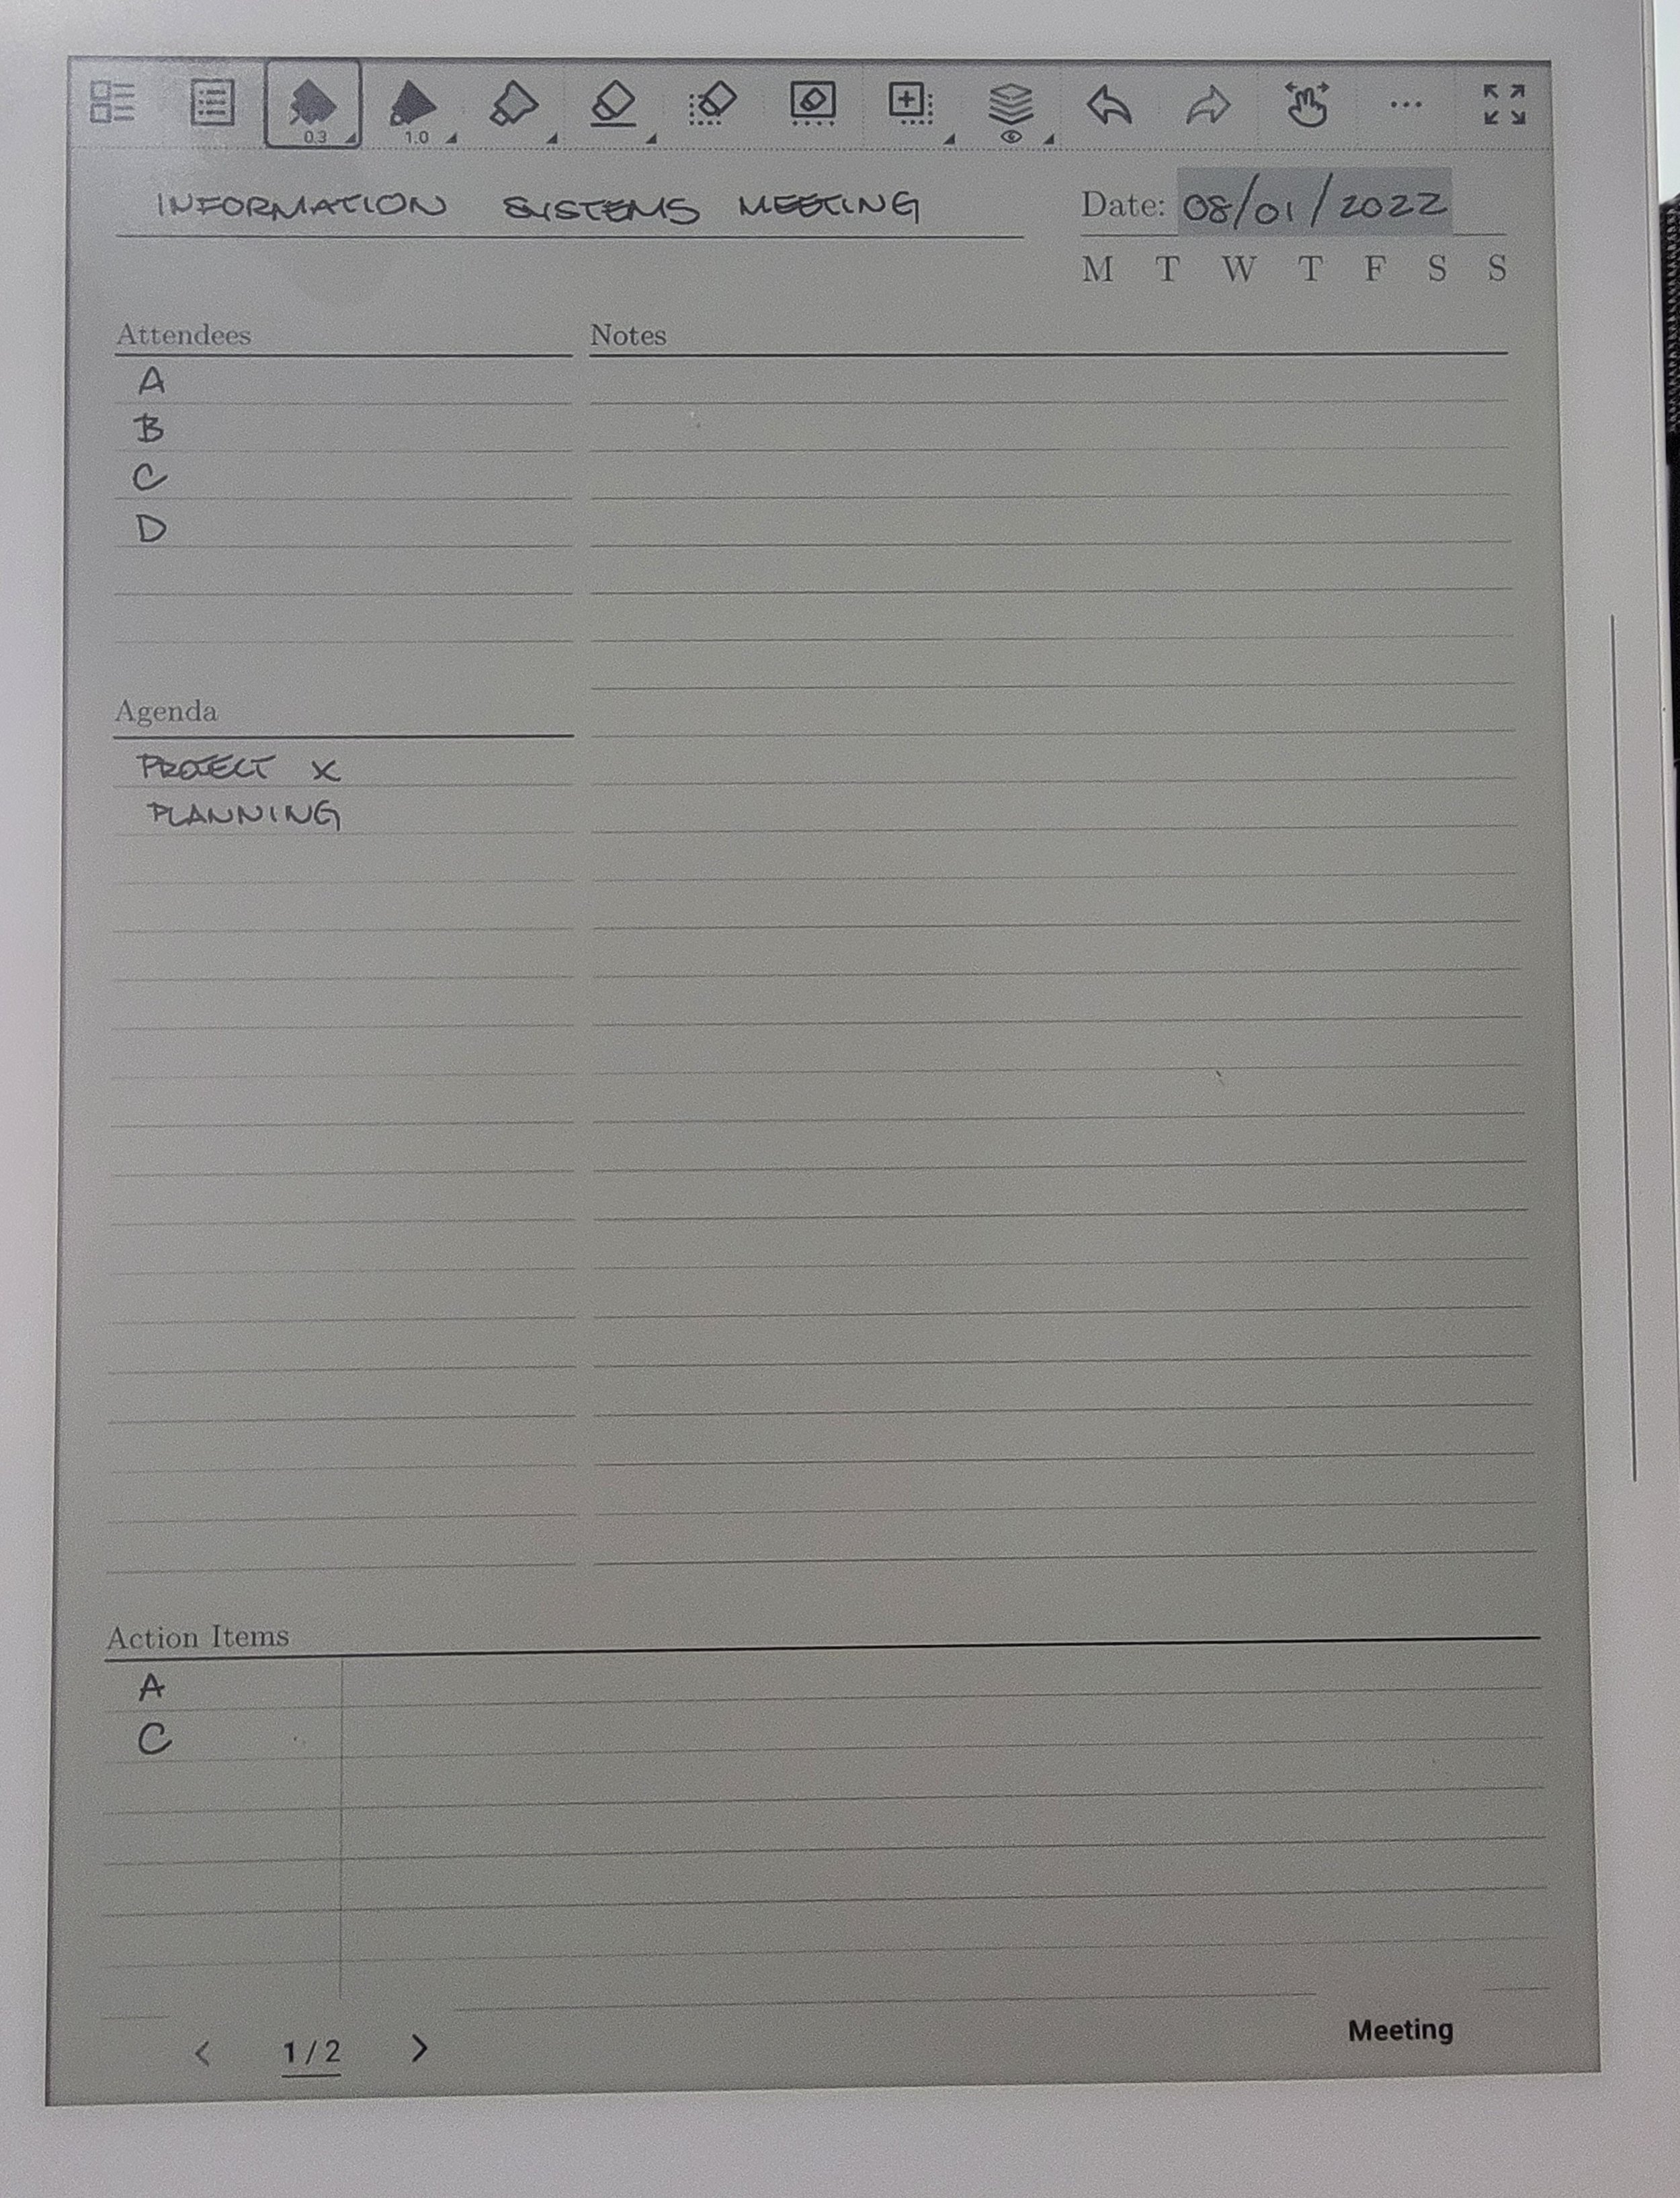
Example 3- Meetings
The final workflow comes from meetings. During a meeting, my focus is on listening and taking notes. I am not worried about creating digests. I am not worried about organization. I am simply capturing information.
Afterward, I compare my notes with the meeting transcription. The transcription often fills in details that I missed while actively participating in the discussion. As I review both sources, I begin creating digests around decisions, action items, important discussions, and key takeaways. The result is not a transcript of the meeting. It is a distilled version of what actually matters.
The common thread across all three examples is that Digest happens later.
It happens after the reading.
It happens after the note taking.
It happens after the meetings.
Final Thoughts
For years I kept trying to use Digest during the capture phase of my workflow and it never felt natural. Once I gave myself permission to separate capture from synthesis, the feature finally clicked.
Today I think of Digest as a bridge. It sits between research and synthesis, helping me transform information into understanding. Whether I am working through a physical book, a PDF, or a page full of meeting notes, the process is ultimately the same. First I capture. Then I reflect. Then I distill.
That simple change in perspective turned Digest from one of my least-used features into one of the most valuable parts of my Supernote workflow.