Workflow: Meeting minutes

One notebook for all meetings

Using one continuous notebook will be easier for retrieving notes from a certain meeting

These are the features used on the Supernote for this workflow:

  • Template

  • Layers

  • Title

  • Keywords

  • Star

  1. Create a new notebook

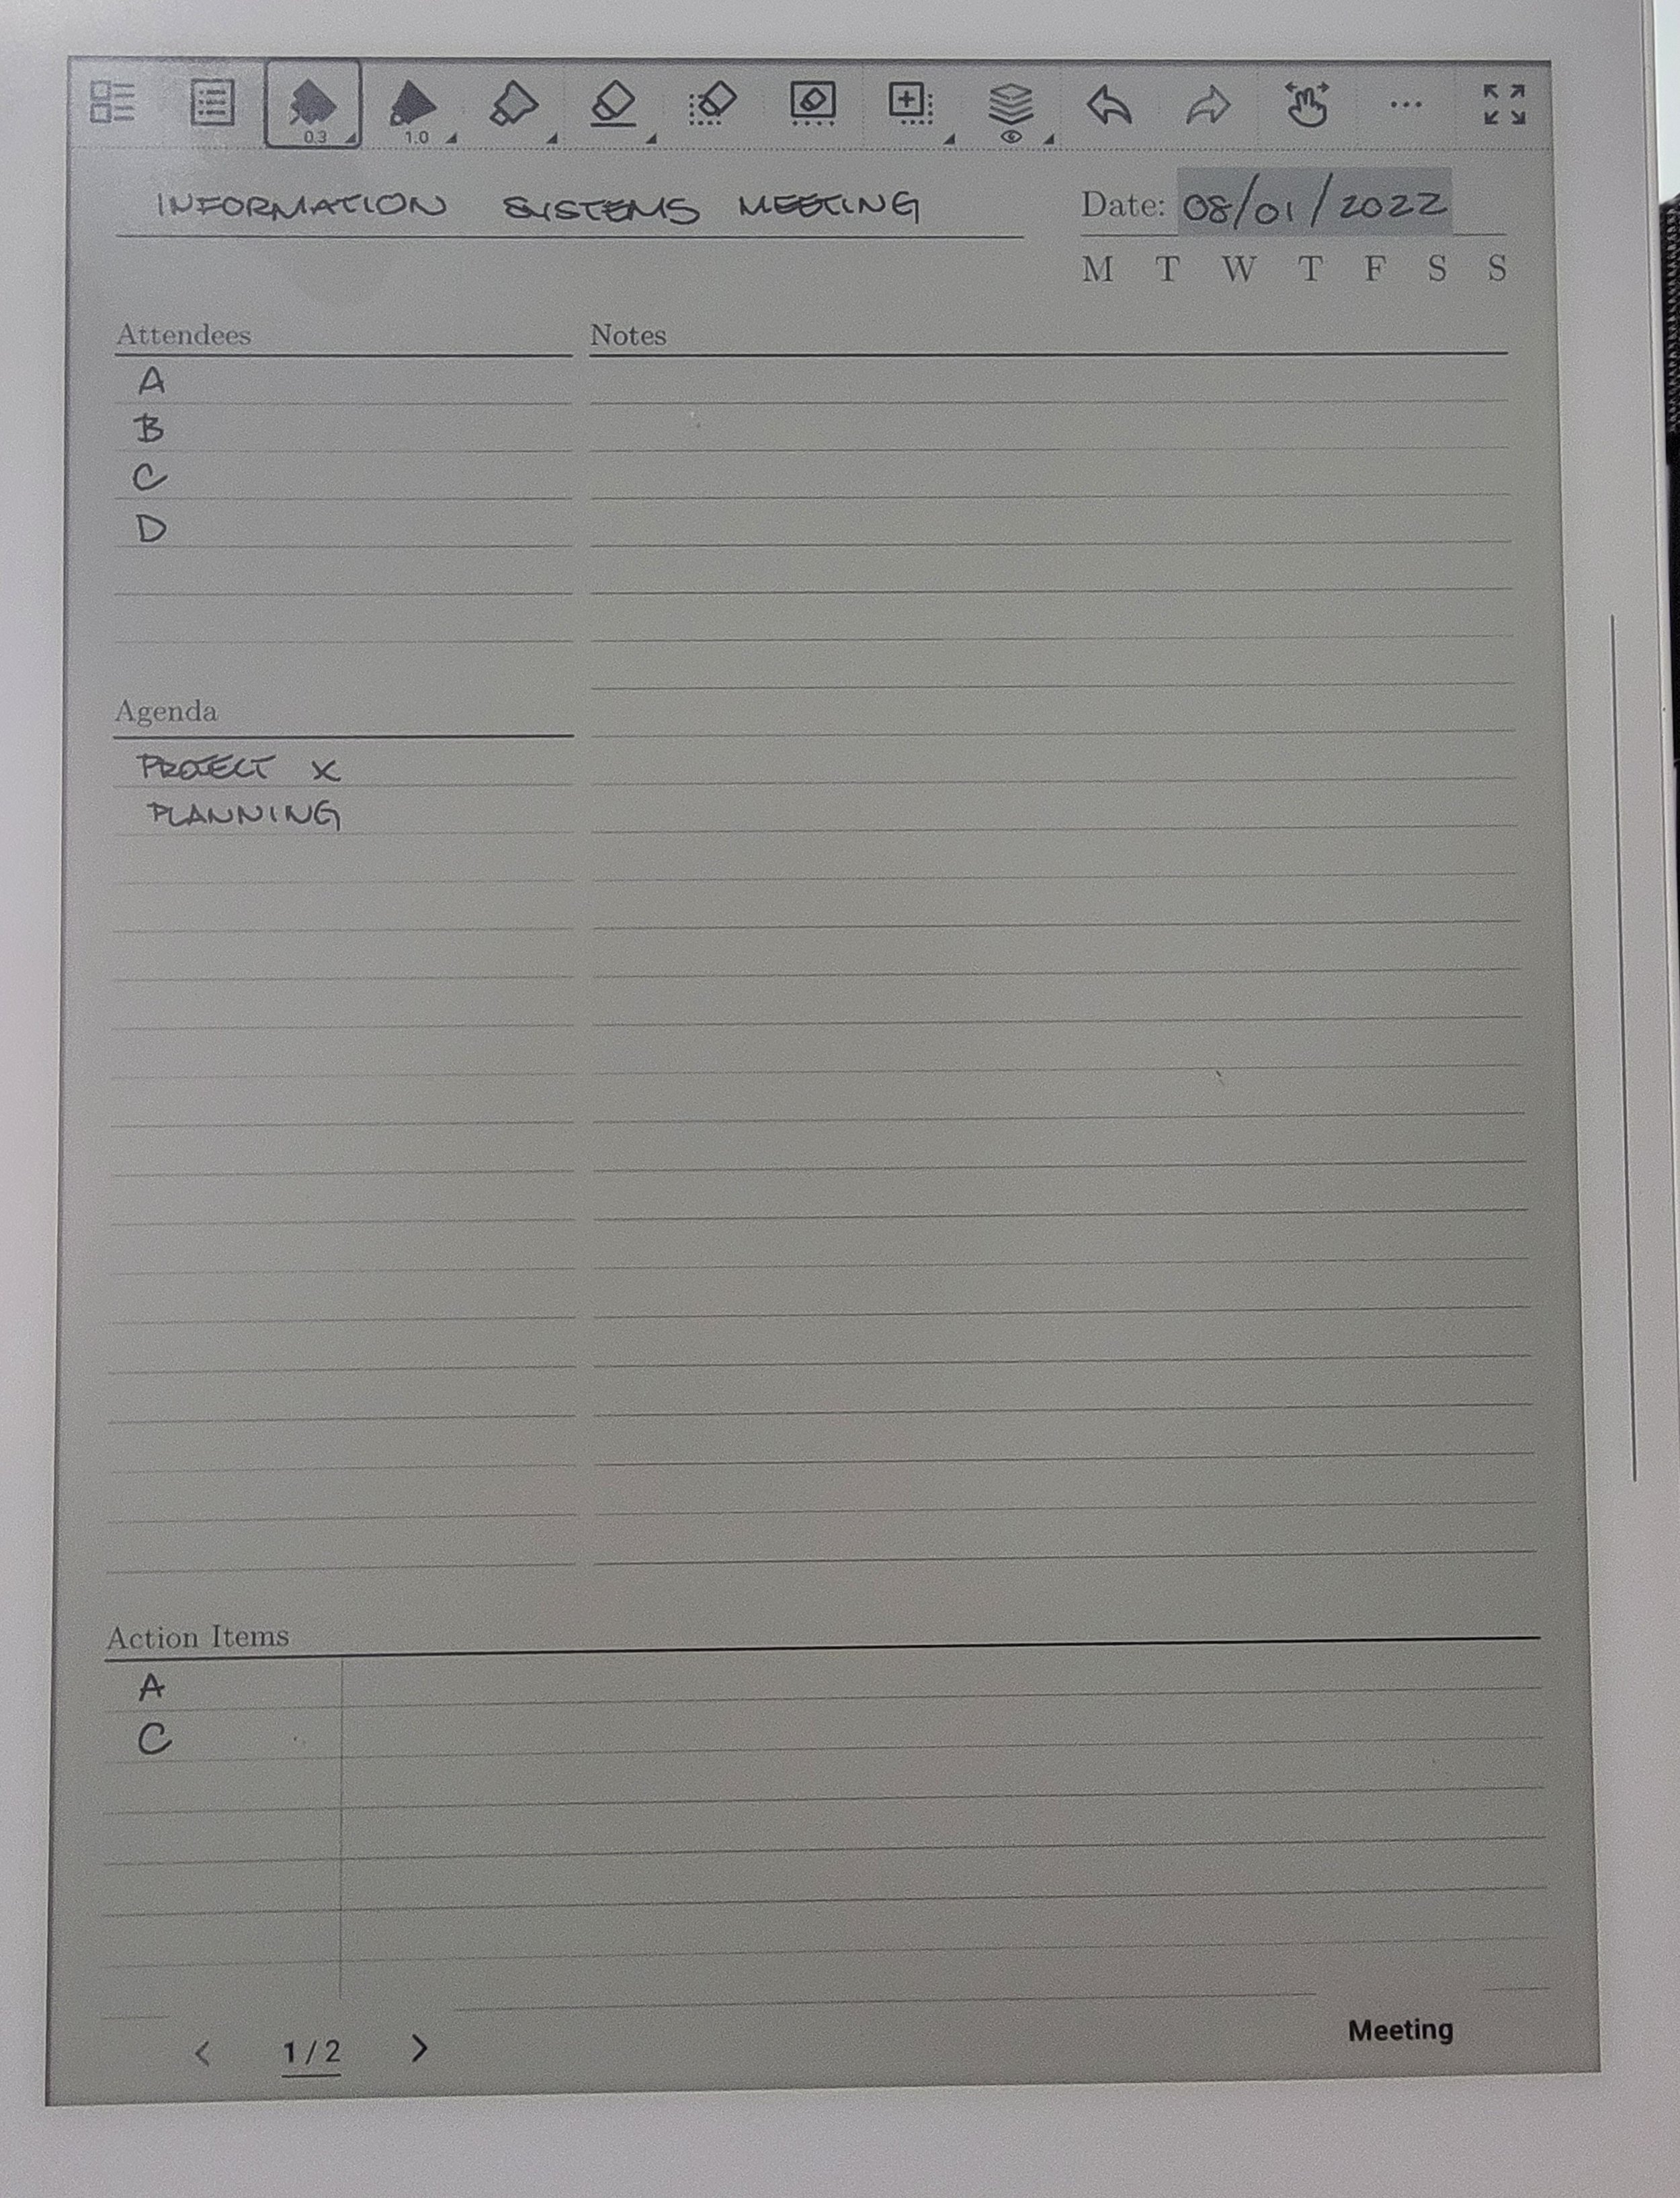
  2. Apply the meeting minutes template

  3. On the main layer fill the following out:

    1. Put the date and turn the date into a title

    2. Give a name to the meeting

    3. Agenda

    4. Action Items

  4. Use the lasso tool to create keywords

    1. I use this feature to create new projects on the horizon discussed in the meeting

  5. Create a star next to any action items assigned to you

  6. Create a new layer and label “Agenda”

    1. This is the layer where all the notes from the meeting is written

  7. Optional: Create a layer and label “Planning”

    1. I use this layer to layout the necessary steps I need to take in order to achieve what was discussed on the “Agenda” layer

  8. Optional: Create a layer and label “Updates”

    1. List any updates that may occur

  9. Toggle between layers to track the progress of the agendas discussed in the meeting.
Workflow: Project Management

Project management with supernote

It will help if you outline what the phases or stages of a project are in your workflow beforehand.

These are the features used on the Supernote for this workflow:

  • Template

  • Layers

  • Title

  • Keywords

  • Star

  1. Create a notebook and use the project template

  2. Create layers and name each layer after a phase/stage in the project plan

    1. Write out each step involved within the phase/stage as a to do

    2. Write out departments or divisions this project involved on the main layer

    3. Toggle the layers to hide and display to track the progress of the project

  3. Use the Lasso tool to create the following

    1. Titles- Name of project

    2. Keywords- I don’t create keywords for all. I only create keywords for projects that are closer to being completed or currently working on.

    3. Star- Use it as a way to prioritize important to do’s within a project. Use sparingly, not everything has the same urgency.

Project Management Workflow Video

Workflow: Studying with the Supernote

Part 3 of 3

Step 5- Time Tracking

Have a goal of how much time you wish to spend studying for the week

  1. Go back to the Study Unit_ , find the completed sections and turn those sections into an Event

  2. Put the amount of time spent on studying that section into the Calendar of the Supernote

    1. List the amount on the Weekly View and use the last box as a Total amount for the week

Step 5 Video

Step 6- Feedback and Reflection

  1. Take a screenshot of Study Unit _ and set as screensaver

    1. If I did not meet my goal for the week, I use the screenshot as a reminder to tackle my missed goals the upcoming week.

Step 6 Video

Workflow: Studying with the Supernote

Part 2 of 3

Step 3 - Questions

  1. Create a new page in the same notebook with the Cornell Template again

  2. Write down all the questions from the section on the main layer

  3. Create a new layer and label it “Explanations”

    1. Write down the explanations for the questions on this layer

  4. Toggle between layers to administer a pop quiz to yourself

  5. Put a Star next to these pages with the questions for easy access from TOC

Bonus Step- Add more layers

  • Adding more layers can help expedite the development of comprehension

Step 3 Video

Step 4 - Checklist

  1. After completing each section go back to the TOC and mark these sections as complete

Step 4 Video

To be continued in part 3

Workflow: Studying with the Supernote

Part 1 of 3

This is going to be a 3 part series. In this scenario an actual physical book is used to study with. Workflows and entries with different scenarios will be discussed in future posts.

Features on Supernote that are used in this workflow:

  • Table of Contents aka TOC

  • Titles, Keywords, Star and Events

  • Templates

  • Layers

  • Calendar

  • Screenshot

  • Screensaver

Step 1- Creating the TOC

  1. Create a new notebook and apply the checklist template

  2. Replicate the table of contents from the book by chapters on the Supernote

  3. Recreate the breakdown of each section as a “Study Unit _”

    1. Leave space for “Date" as completed

  4. Turn all the headers into Titles

Step 1 Video

Step 2- Comprehension and Note Taking

  1. Start a new page on the same notebook and apply the Cornell Template

  2. Read a section from the book and note all the important items on the Supernote

  3. Turn the name of the section into a Keyword

  4. Create a new layer and rename it to “Answers”

    1. On the “Answers” layer, write the meaning of the important item in your own words.

  5. Toggle between the “Main” and “Answer” layer to give yourself a test

Step 2 Video

To be continued in part 2